As much as I love Baker Creek Seeds, sometimes I just need to shop Amazon. I really do love shopping there, as I feel safe knowing if a problem arises with the shipment or product, Amazon will take care of it without question. The sellers are held to consumer standards, not their own, so getting scammed on Amazon is very, very rare.
Over the past year we’ve tried out seeds from several different Amazon sellers. Most were wonderful, although there were a few bad apples in the bunch. Even still, we were out nothing because Amazon is quick to refund or replace.
This list only includes the sellers we had fabulous results with. All seed were shipped safely and grew properly, and some even threw in extra bonus seeds with the shipment. Their prices are also fair, and don’t require Amazon prime or a $35 minimum to take advantage of decent shipping prices (all of these shops sell outside of the Amazon warehouse, yet still must follow the guidelines and policies of Amazon).
All Good Things Organic
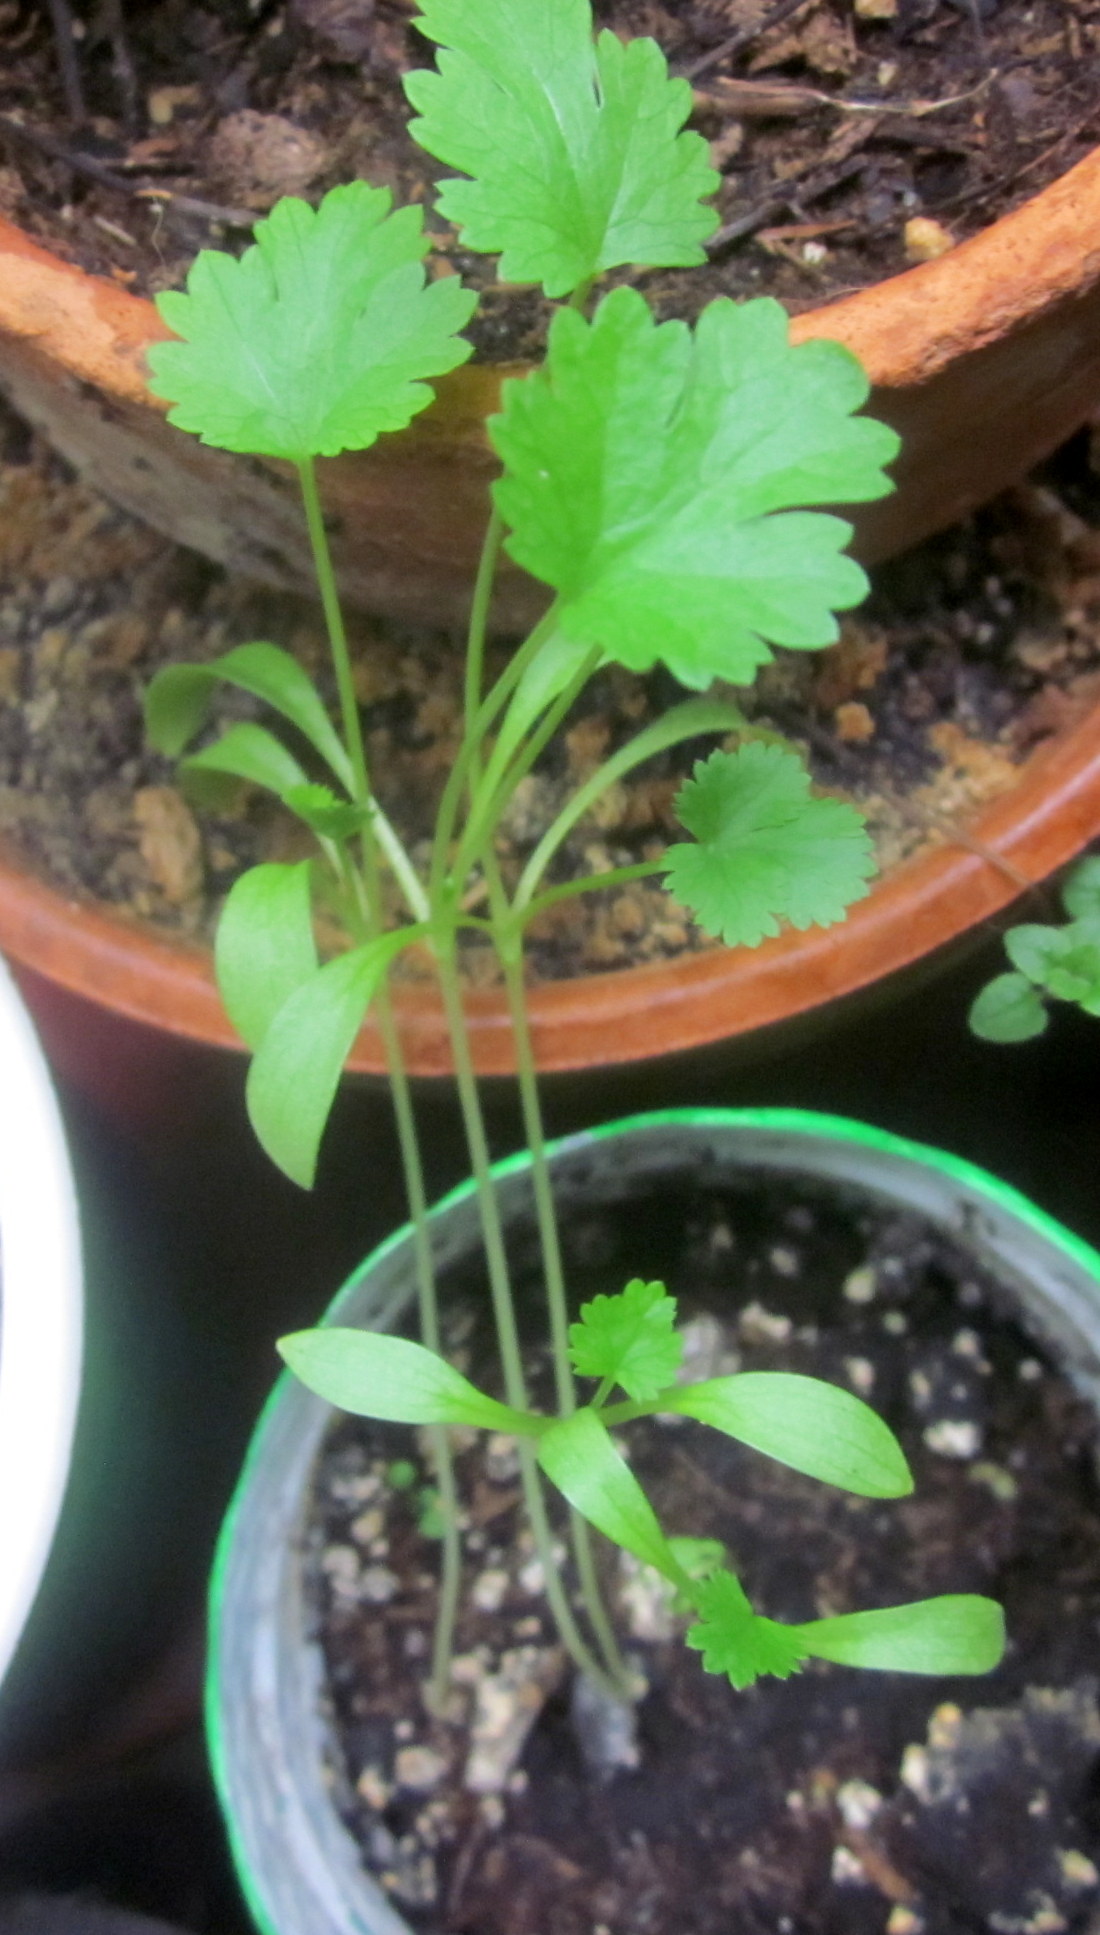
We’ve only purchased one package of seeds from this seller, but that one seed packet produced amazing results. We ordered Organic Hopi Red Dye Amaranth Seeds from this seller last winter, and immediately planted a test seed in a container. The amaranth grew, although it stays small being in a container, so we did as planned and planted them outside. However, before we got the seeds in the ground, we make a pretty bad mistake that I thought would have destroyed the seeds. We accidentally left the package outside overnight and it rained a bit. We planted them anyway, although I didn’t expect much. How pleasantly surprised we were to see just about every single seed pop up as it was suppose to. HIGHLY recommended individual seed seller out of California.

Red Hopi Dye Amaranth
Renee’s Garden
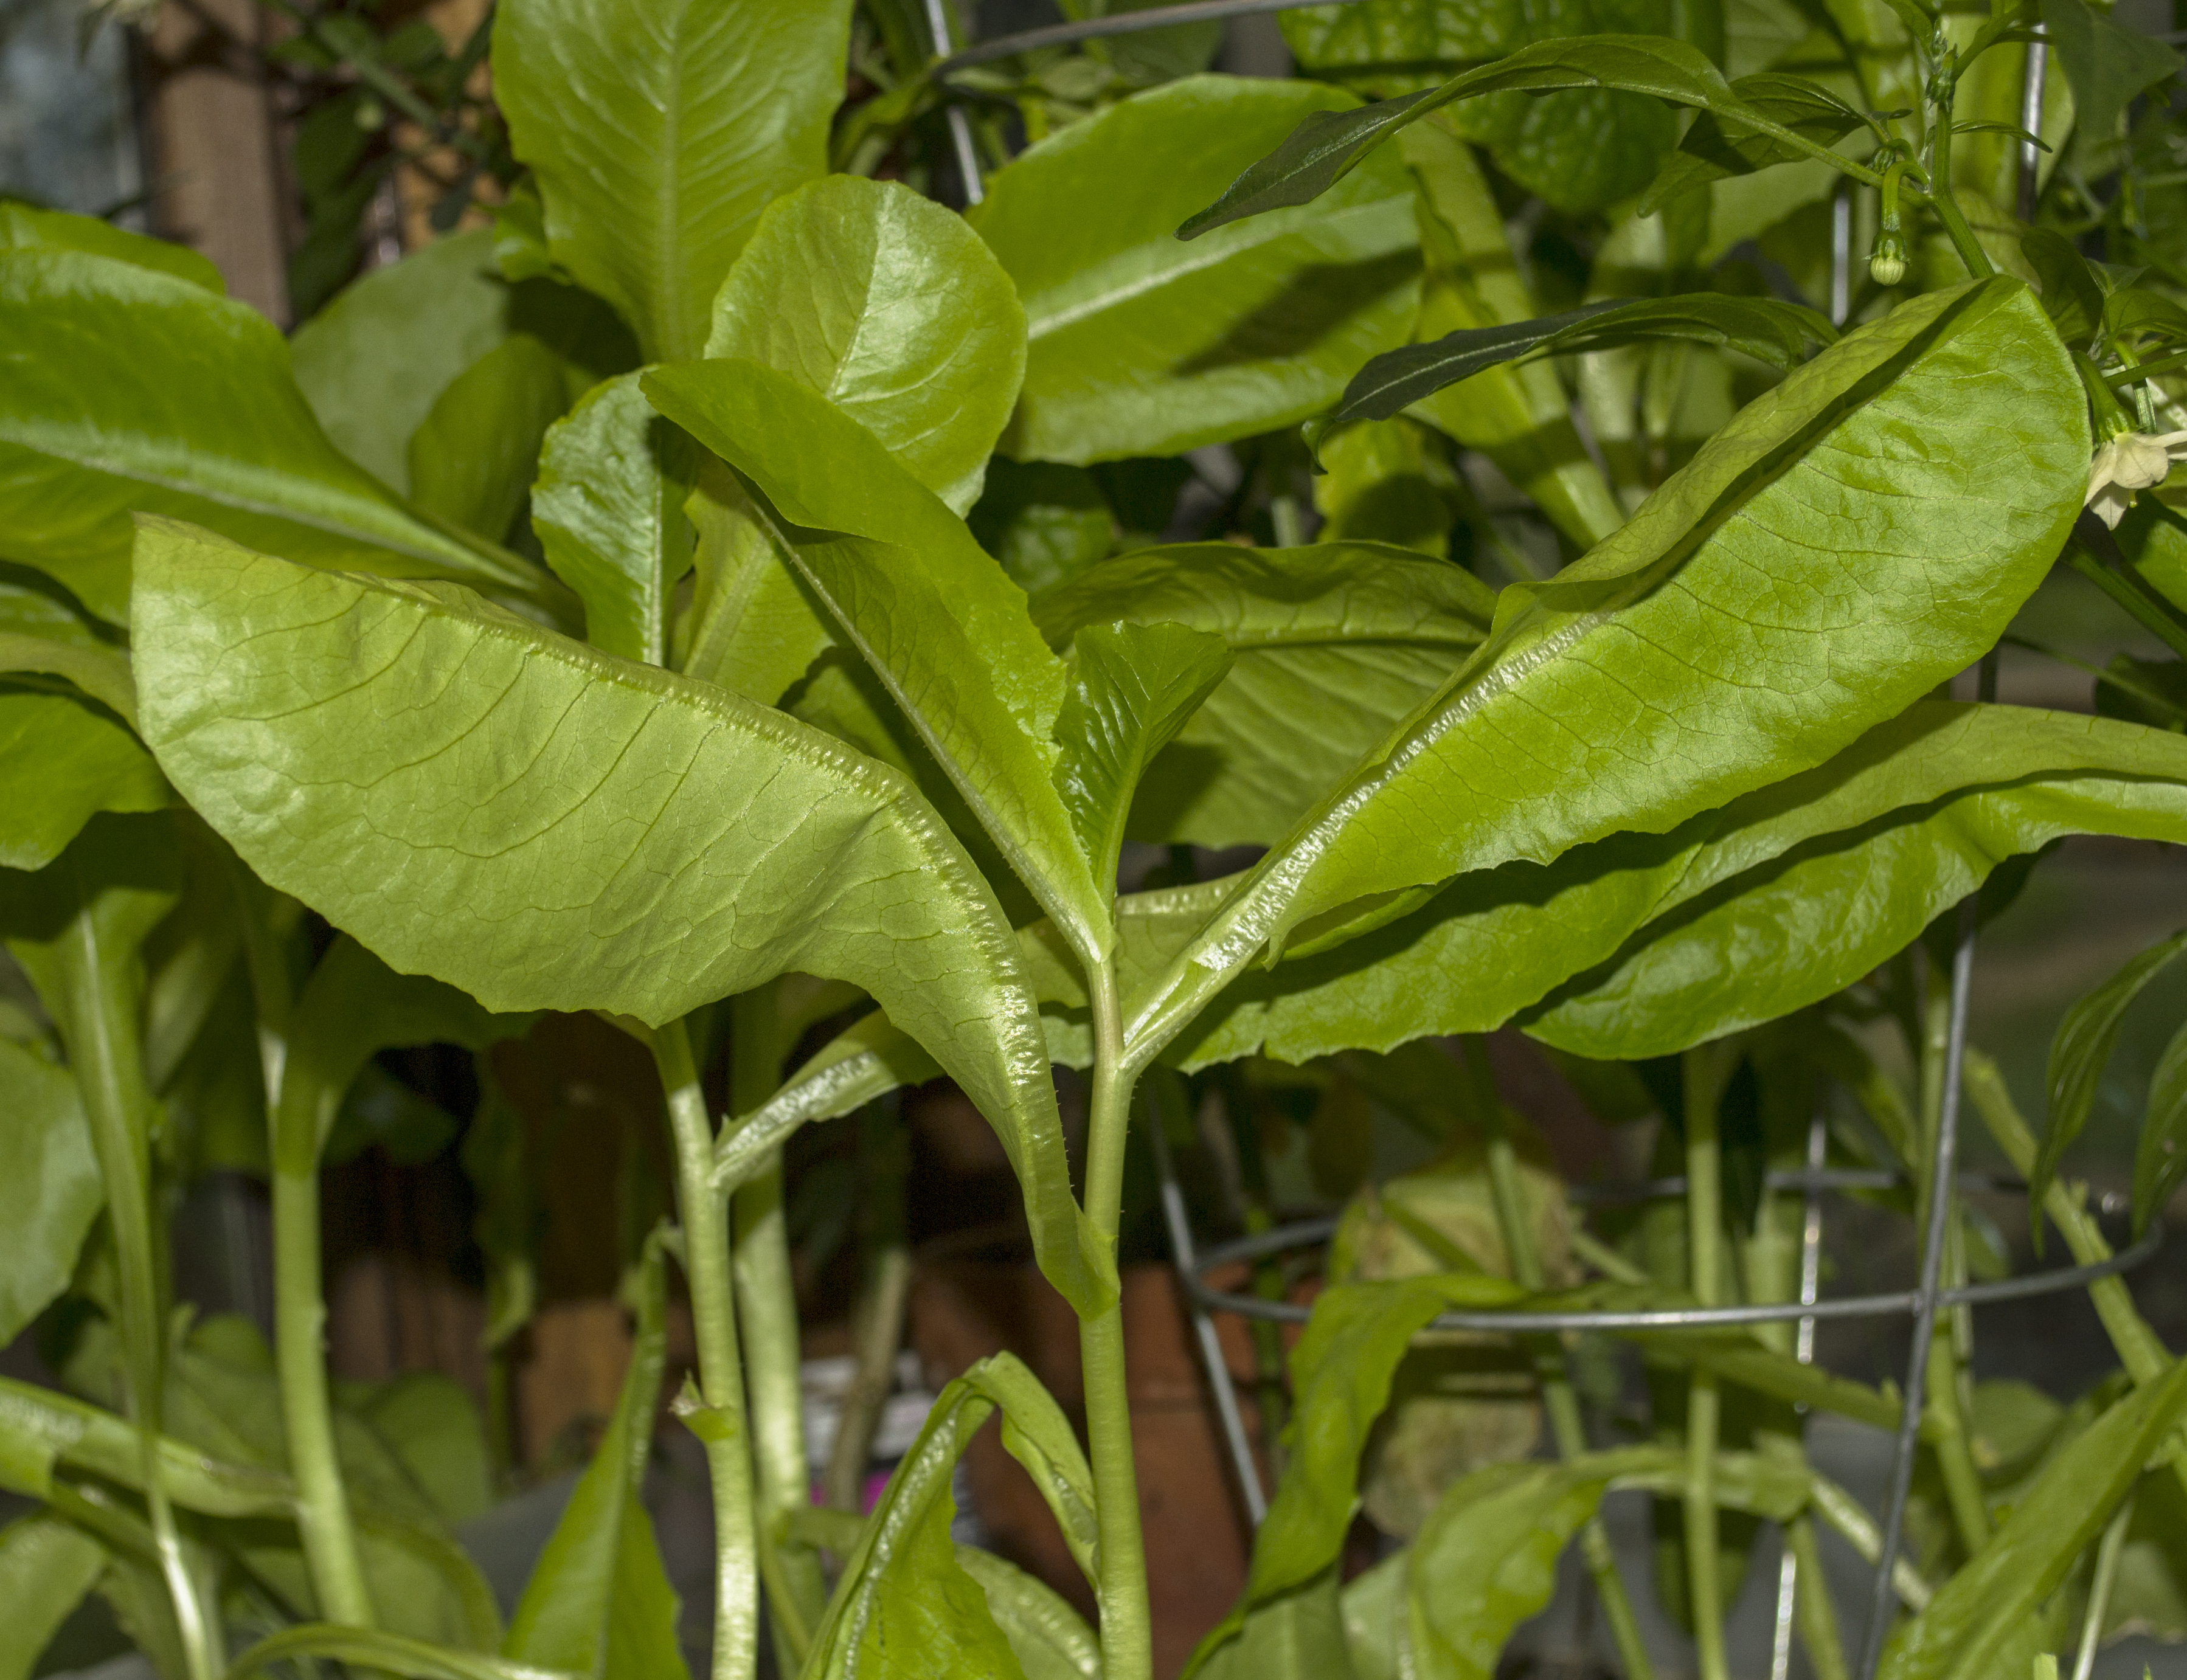
From this store we purchased organic cat grass mix, which grew like, well, grass. Very fast, very furious, and the cats absolutely love it. No issues whatsoever, and I feel safe knowing my cats are getting the grass they want to eat without the chemicals or Round-up ready grass you find outside. I found it so easy to grow that I purchased another package of seeds from this seller – Alpine Mignonette Strawberry Seeds. These proved to be a bit trickier to grow, however, the germination rate was perfect. No fault of the seeds or seller, just a gardening curve on my part to keep a pickier plant alive. They do have their own website and fabulous articles about growing their seeds, so there IS help. I’ve managed to keep two plants growing for 8 months now, mostly thanks to the tips and care instruction provided by this seller. Again, highly recommended.

Alpine Mignonette Strawberries
No Thyme Productions
We couldn’t be happier with the seeds that came from this seller, even if they aren’t specifically a seed store. We purchased Dill Bouquet Certified Organic Heriloom Seeds and Lettuce Butterhead Buttercrunch Certified Organic Seed
, both from Botanical Interests. Now you could purchase Botanical Interests seeds from any seller on Amazon, but I will say this: we purchased two packages of the same brand from a different seller and nothing grew. I really, truly believe seeds can be mishandled and stored incorrectly to the point they become non-viable and believe that is what happened with the other seller. However, the seeds purchased from No Thyme Productions germinated perfectly and are thriving like weeds. So if you do purchase Botanical Interests, be sure the seller is “No Thyme Productions” or another on this list, even if it costs a few extra cents.

Little Lettuce Sprouts
Seed Kingdom
This storefront on Amazon seems to sell a lot of other brands of seeds, although our Boston Pickling Cucumber Seeds were packaged directly by Seed Kingdom. They came in a small bag with a label, along with their website in case we ran into problems. Well, we didn’t. The cucumbers are TAKING OVER the garden and producing more cucumbers than we can handle. These seeds were for sure a winner.

Boston Pickling Cucumber
Seed Needs
We’ve only purchased one package of seeds from this seller, but it was enough to decided they were alright in our book. The Cape Forget-Me-Not (Anchusa capensis) Seeds by Seed Needs sprouted as they should inside, although I’ve been struggling to keep them alive. I always judge a seed seller on germination rates, as I feel that’s a seed sellers main responsibility to ensure the seeds will at least grow. After sprouting, it’s up to the gardener to take proper care of them. All the seeds we’ve planted have grown properly, even if I’m not being a very good plant mother. I’m sure with a little TLC they will grow just fine.
The Dirty Gardener
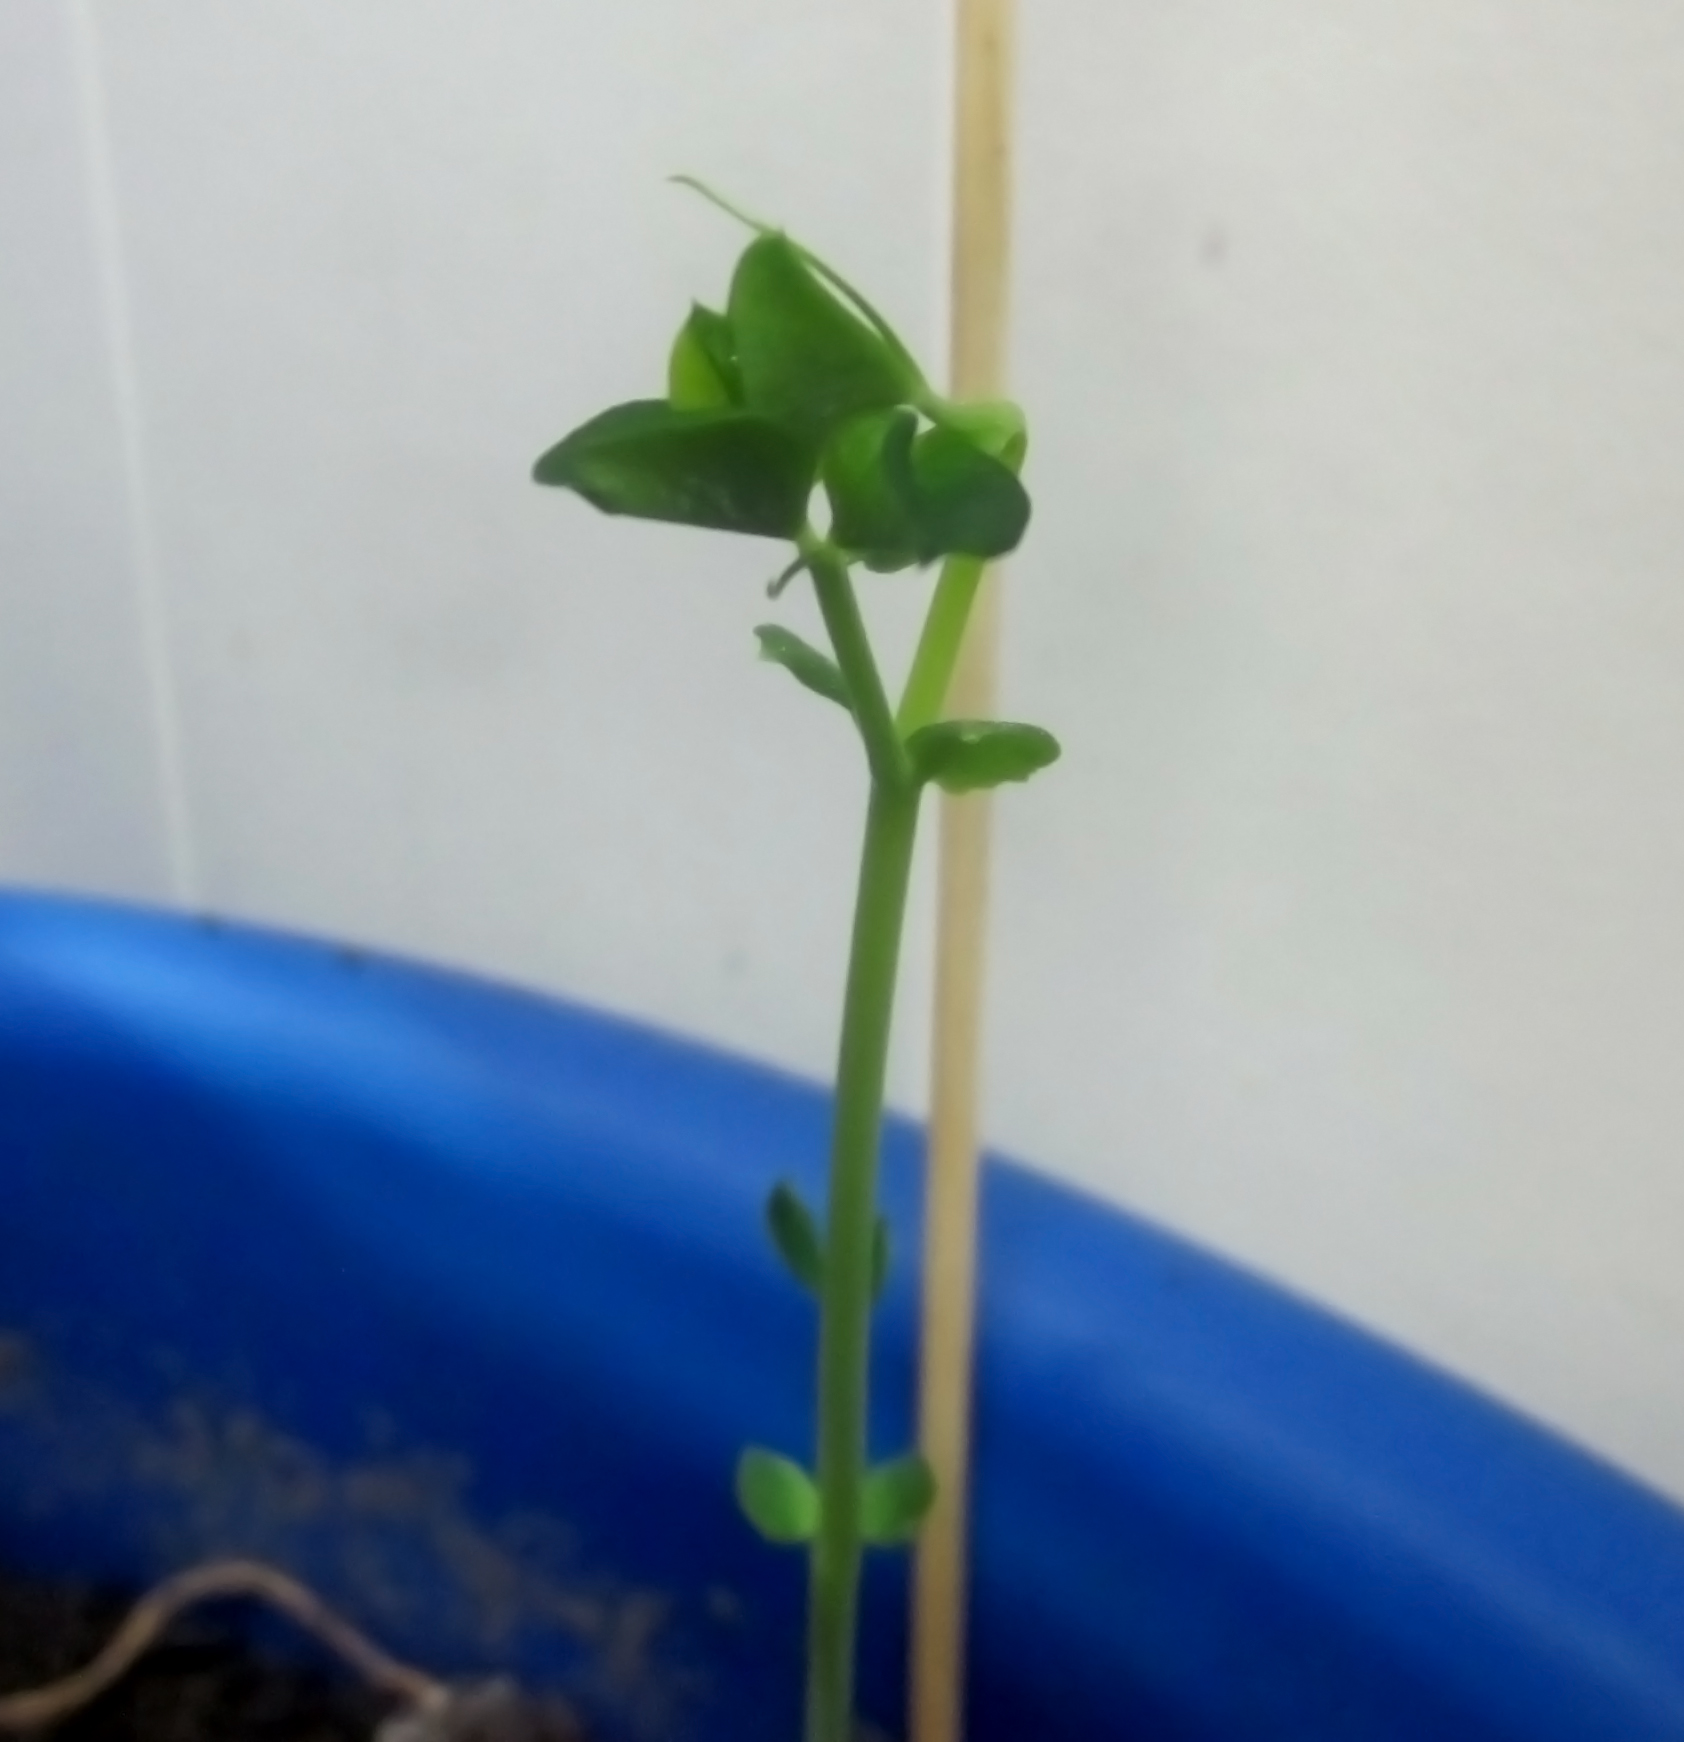
Two successful batches of seeds have come from this seed seller: Morning Glory Seeds and Roman Chamomile
. Morning glories aren’t difficult to grow, so these sprouted and bloomed without fail. Even after planting a 100 foot row of morning glories (with a few replanted seeds after bunnies got them) and several inside, we’ve still got a ton of leftover seeds. The chamomile is also thriving indoors in two places and germinated without issue. HIGHLY recommended seller!

Roman Chamomile
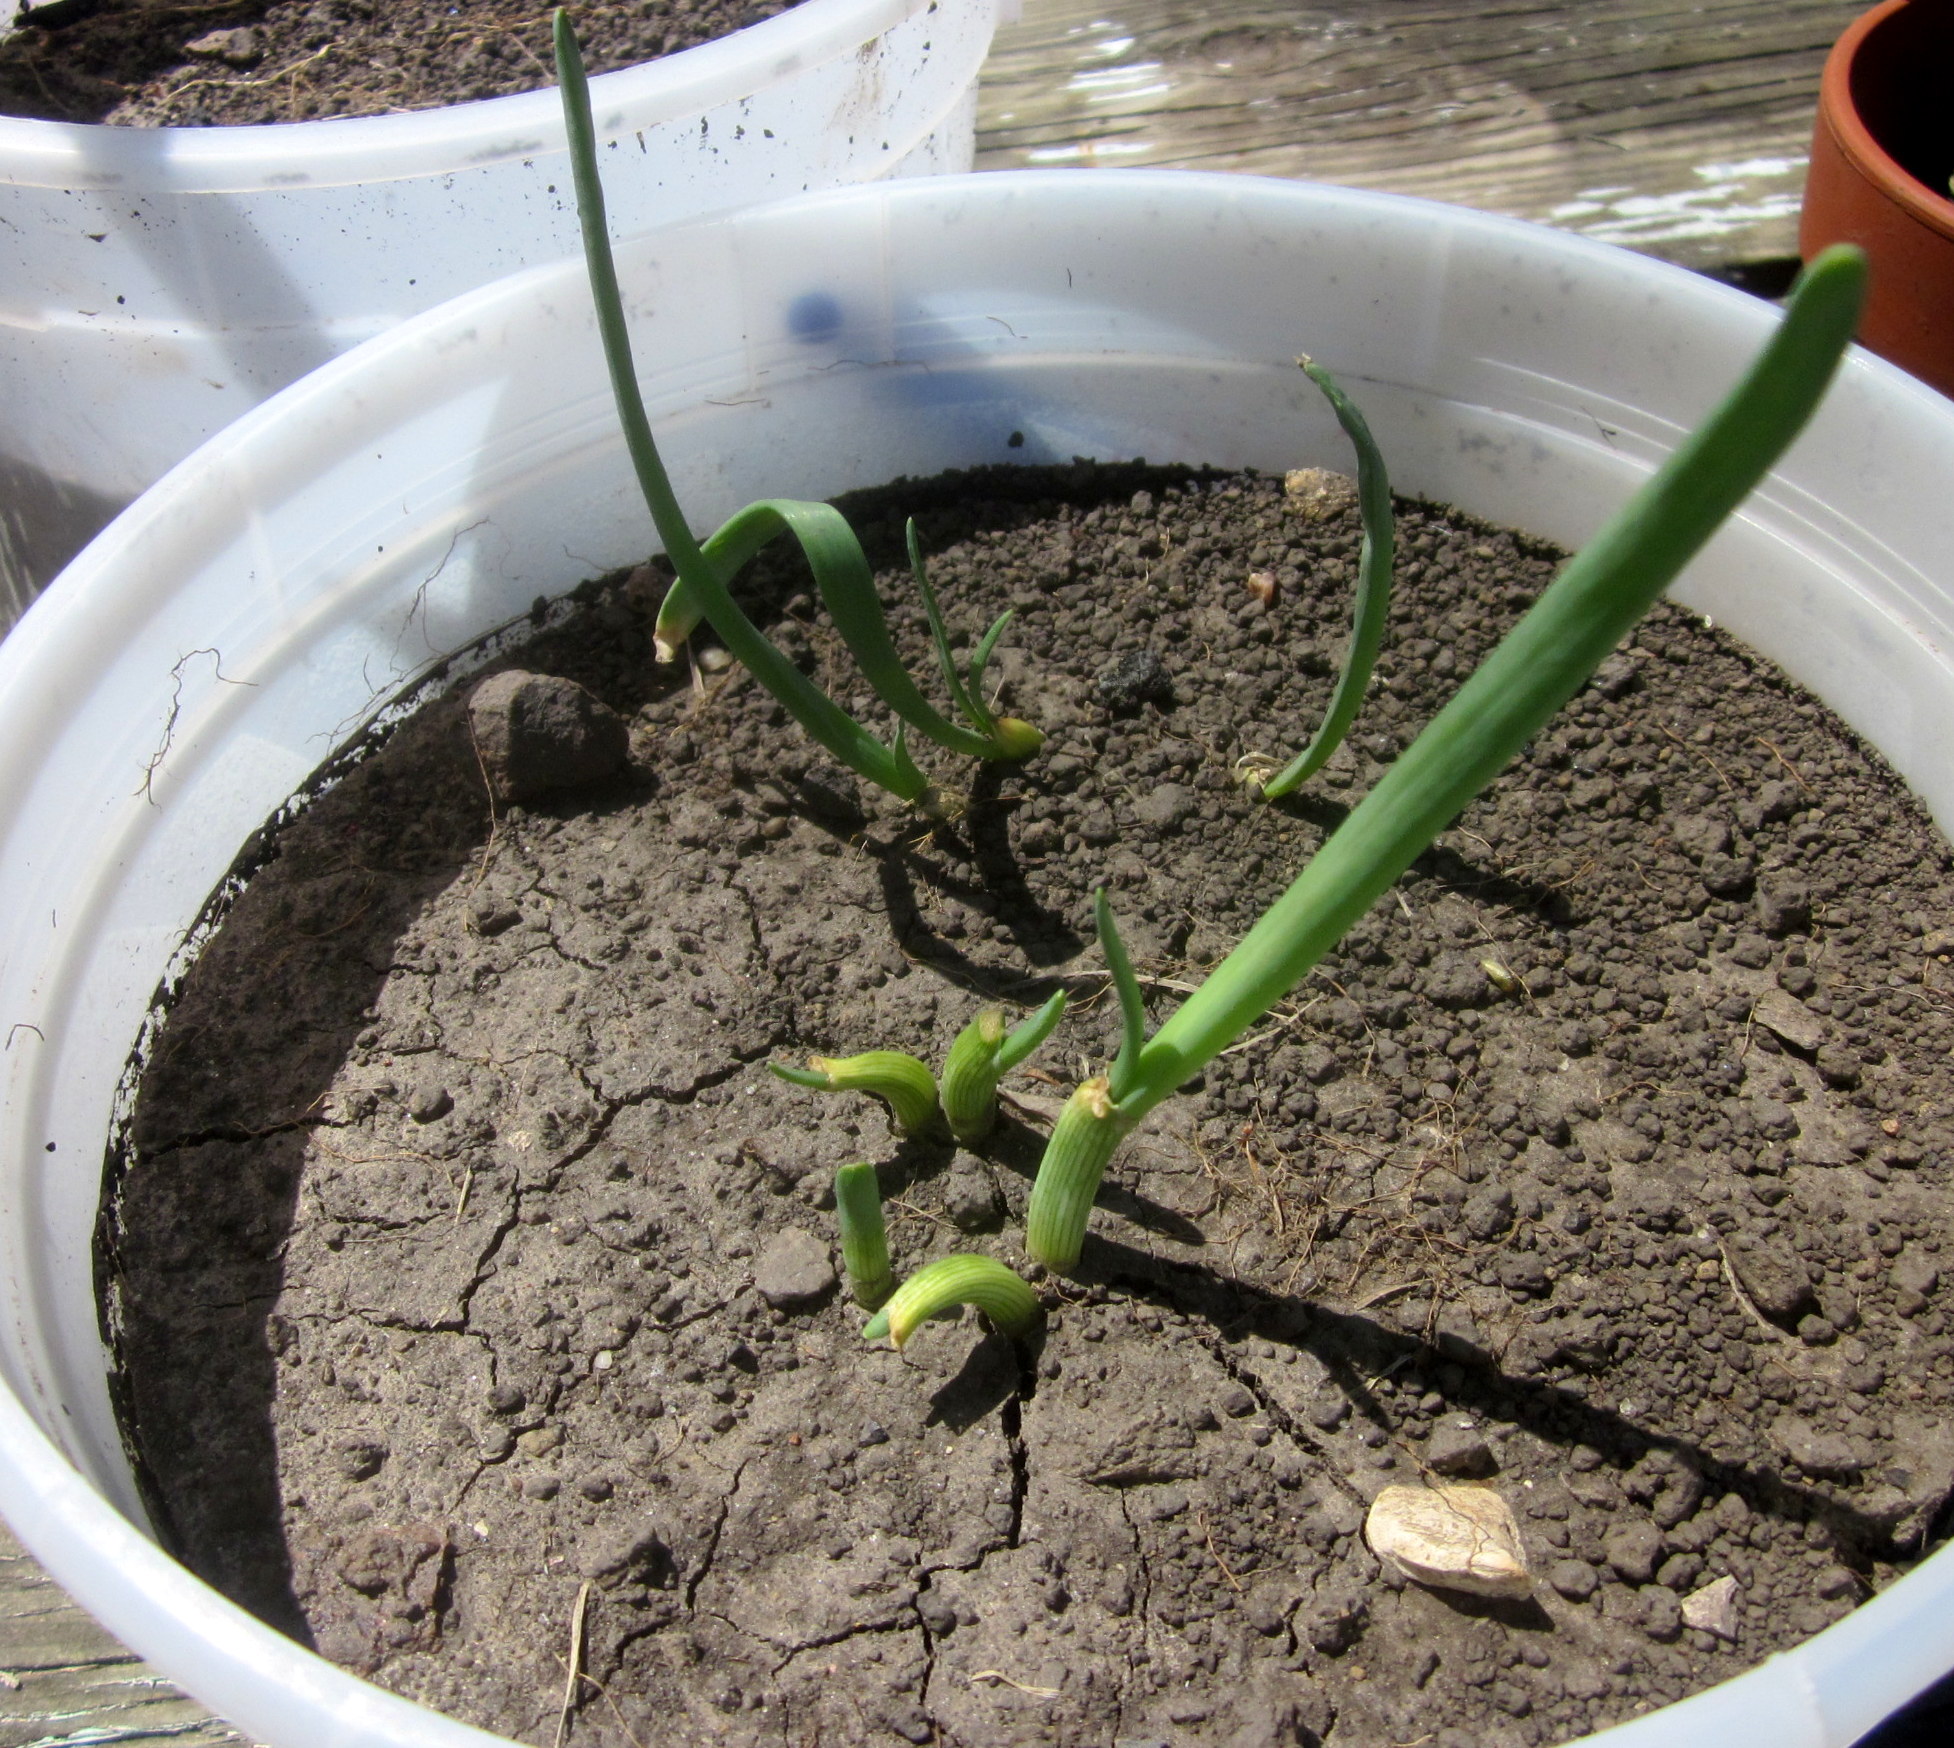
Ohio Heirloom Seeds
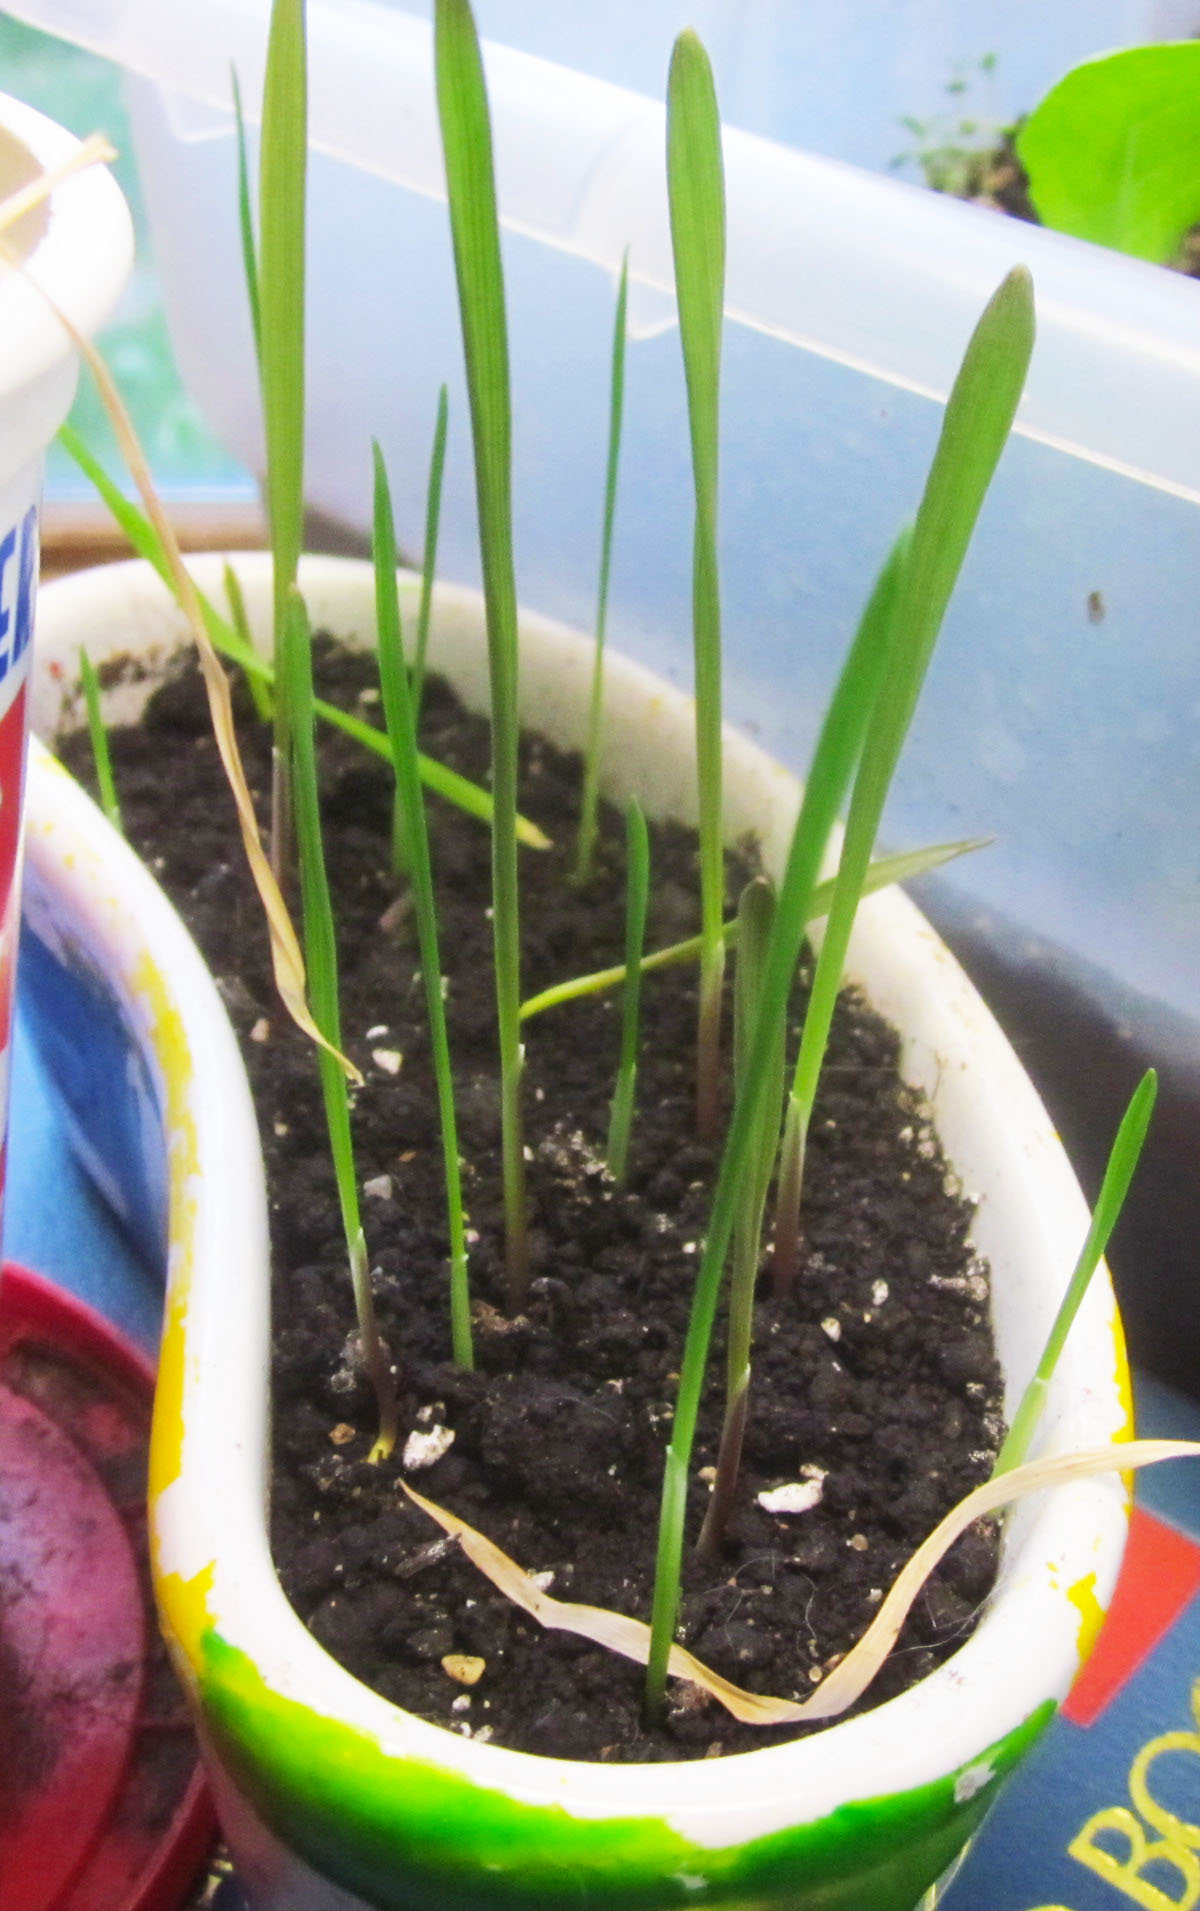
The last recommended seed seller we purchased from more than once. The first time we purchased Catnip Seeds. Knowing how difficult these are to germinate and how germination rates are usually low, I was extremely impressed with how well these seeds grew. So impressed that we ordered from the same company again. The second batch was a larger order of Scallions
, Fennel
, and Atomic Red Carrots
. So far only the carrots have sprouted from the new order, but we’ve only had these seeds a few weeks. After seeing the other successful sprouts, I have no doubts they’ll do just fine.

Catnip growing indoors under florescent lights.
Are there sellers on Amazon you recommend, or do you sell seeds on Amazon? We are always open to trying out new seeds and new companies, just as long as they are organic or non-GMO. Feel free to contact us if you’d like to see your Amazon store featured here. 🙂
Happy gardening!